Thank you for downloading SimpleSYN Mobile
Your Download will begin shortly...
SimpleSYN Mobile Quick-Start
Step 1 - Download and Installation
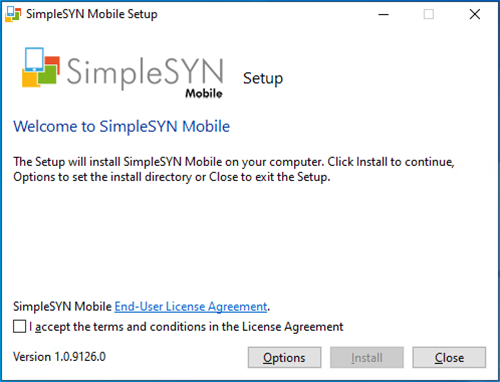
After your download has completed, start the installation of SimpleSYN Mobile with a double click on the downloaded setup file "SimpleSYN_Mobile.exe".
Confirm the end user license agreement (EULA) and click on "Install".
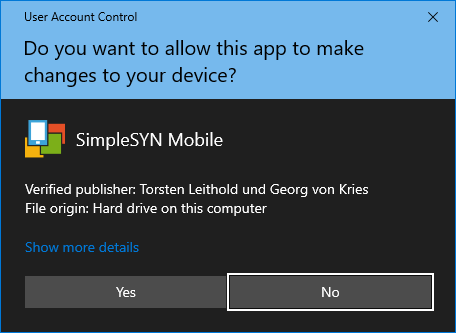
The installation requires adminsitrator permissions. Confirm the Windows security alert by clicking "Yes".
After the installation has completed, click on the button "Launch" to begin configuring SimpleSYN Mobile.
Step 2 - Configure SimpleSYN Mobile
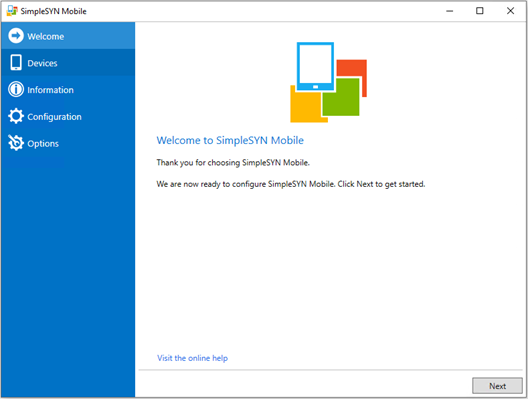
During the first start of SimpleSYN Mobile, you will automatically be taken to the setup page. Click "Next".
In the next step, you can configure your account. Enter a name for your account and choose a password. Click "Next".
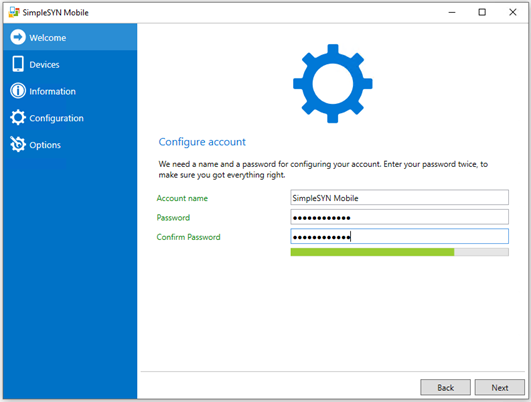
Note: Make sure to choose a secure password. An indicator is displayed that reflects the security of the password.
Your SimpleSYN Mobile account has been set up. During setup, a special SimpleSYN-Mobile email address is also configured for you. This pseudo email address is not intended for real sending and receiving and is required to establish a connection from your device.
Have the pseudo email address and password ready to configure your device.
Step 3 - Configure smartphone or tablet computer
After you have set up SimpleSYN Mobile on your PC, you still need to configure your devices. Make sure in advance that SimpleSYN Mobile is fully configured and running on your PC.
The first synchronization after setting up the account on the device starts automatically and may take some time depending on the number of folders and items.
Set up for Android devices
The setup of Android devices may differ depending on the manufacturer, version, and installed apps. Below are some examples of common configurations.
SimpleSYN Mobile uses the Exchange ActiveSync protocol for synchronization. If in doubt, ask your device manufacturer how to set up an Exchange ActiveSync account.
If you have a device with Android 9.0 (Android Pie), you can use the Google Gmail app for emails, as well as the normal contacts and calendar apps with SimpleSYN Mobile.
To set up an Android 9.0 device, follow these steps.
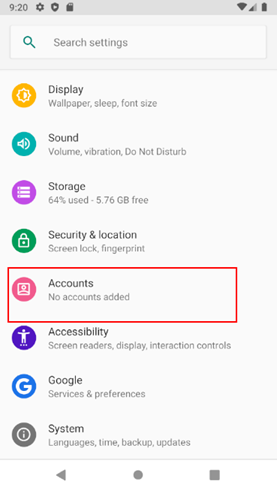
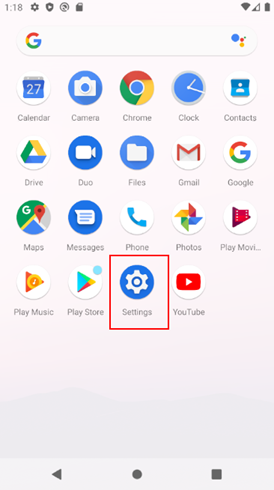
- Open the settings of your Android device.

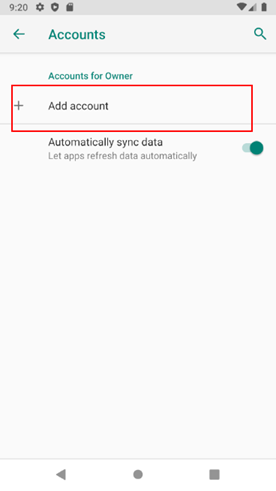
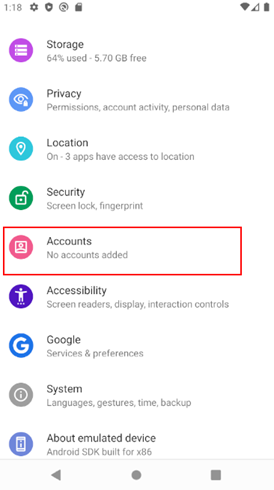
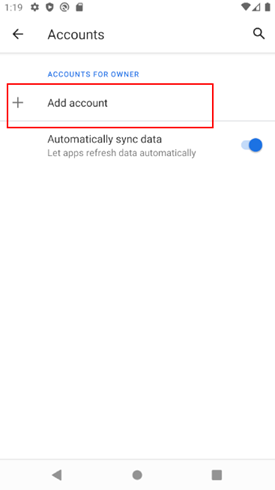
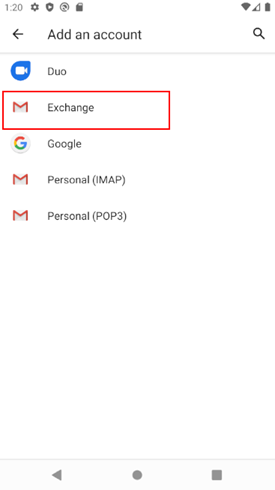
- Tap “Accounts” and then tap “Add Account”.
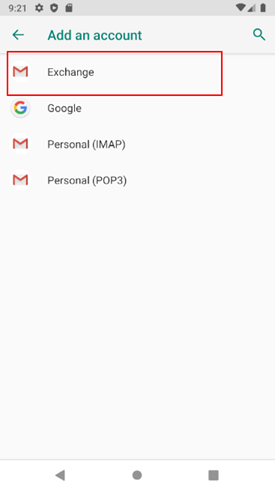
- Tap “Exchange”.
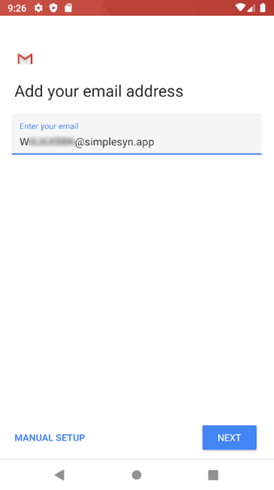
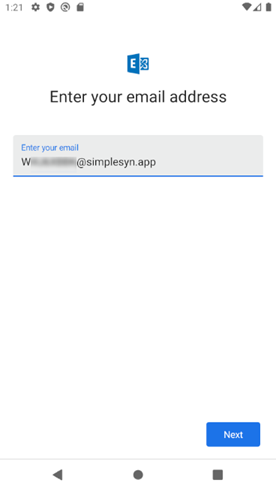
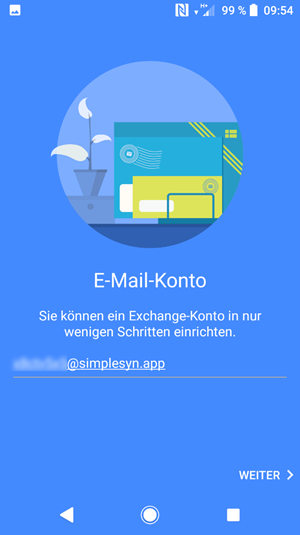
- The Gmail app will then open. Enter the previously remembered pseudo email address (with the extension @simplesyn.app) and tap “Next”.
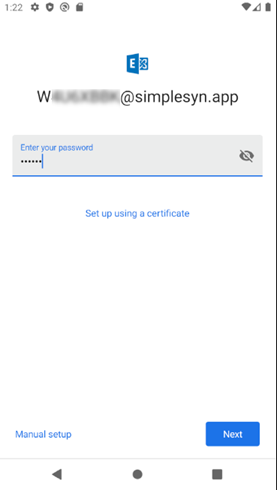
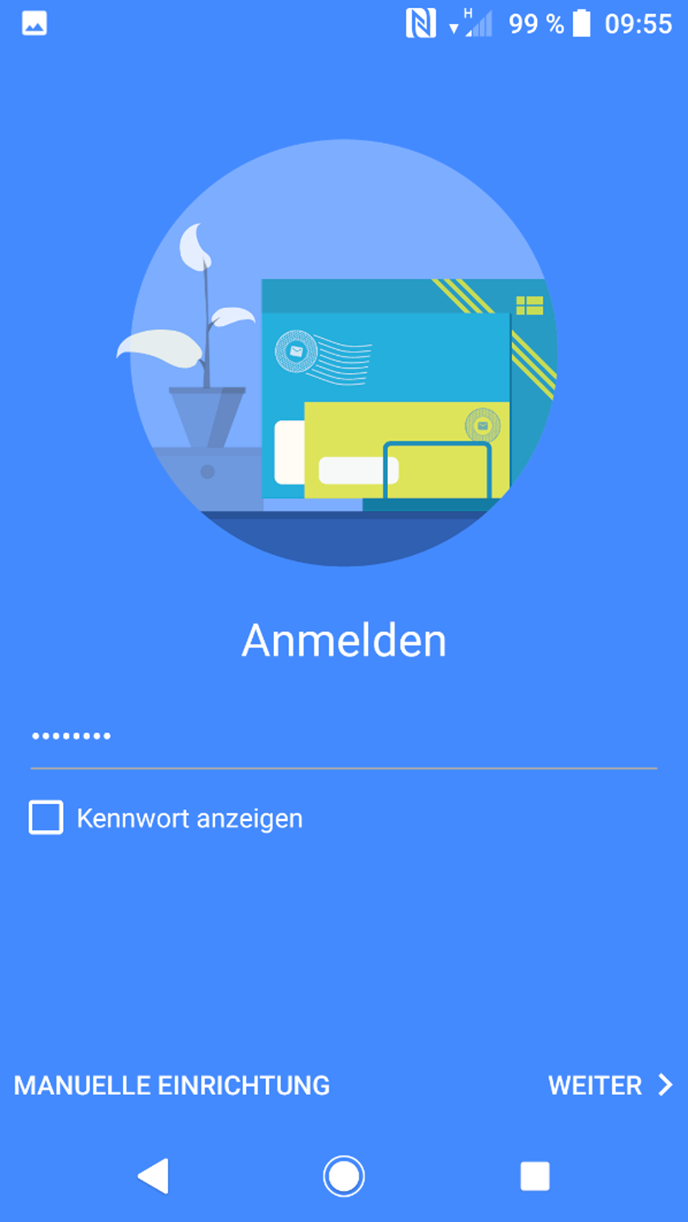
- In the next dialog, enter your previously created password and tap “Next”.
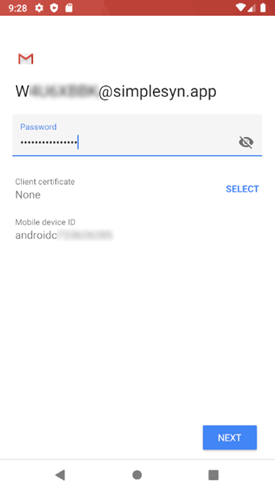
- The account information is then retrieved and displayed for control. Tap “Next” to confirm the settings.

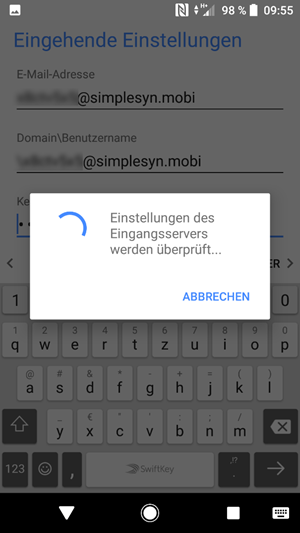
Figure 1: Getting account information
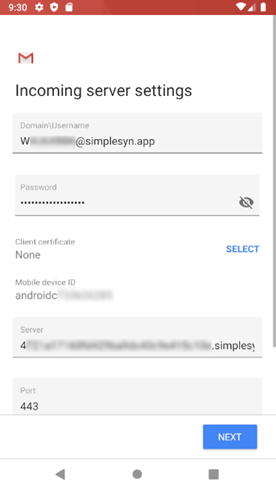
Figure 2: Correct account settings contain a longer string in the "Server" field.
Important: Leave all settings unchanged in this dialog.
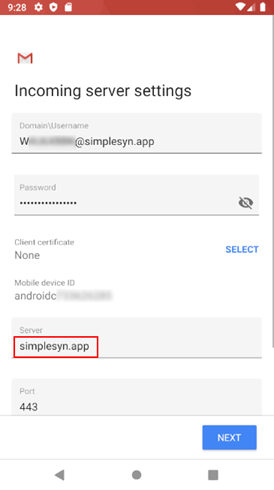
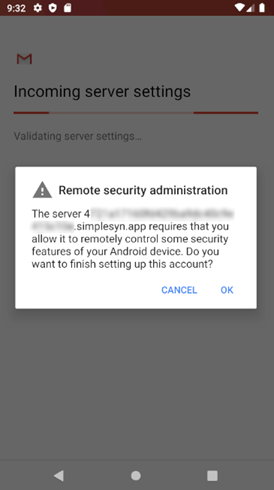
Figure 3: Incorrect account settings - Confirm the access policy displayed in the following dialog with tapping “OK”.
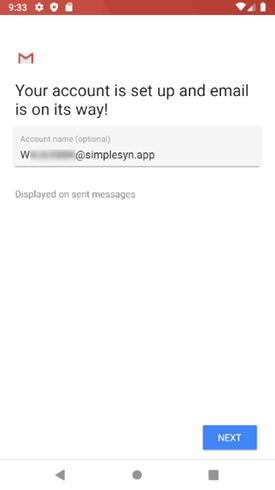
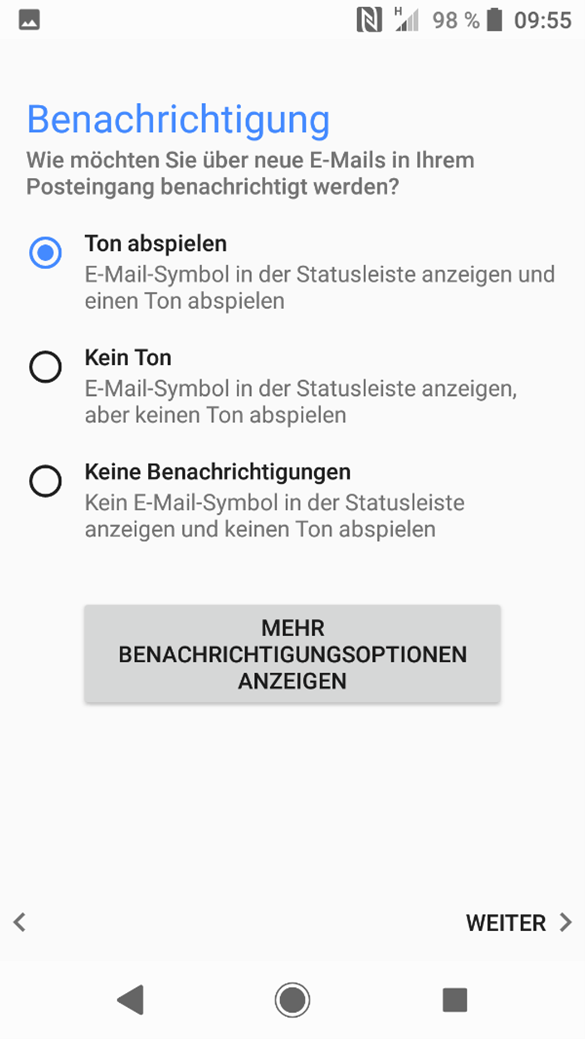
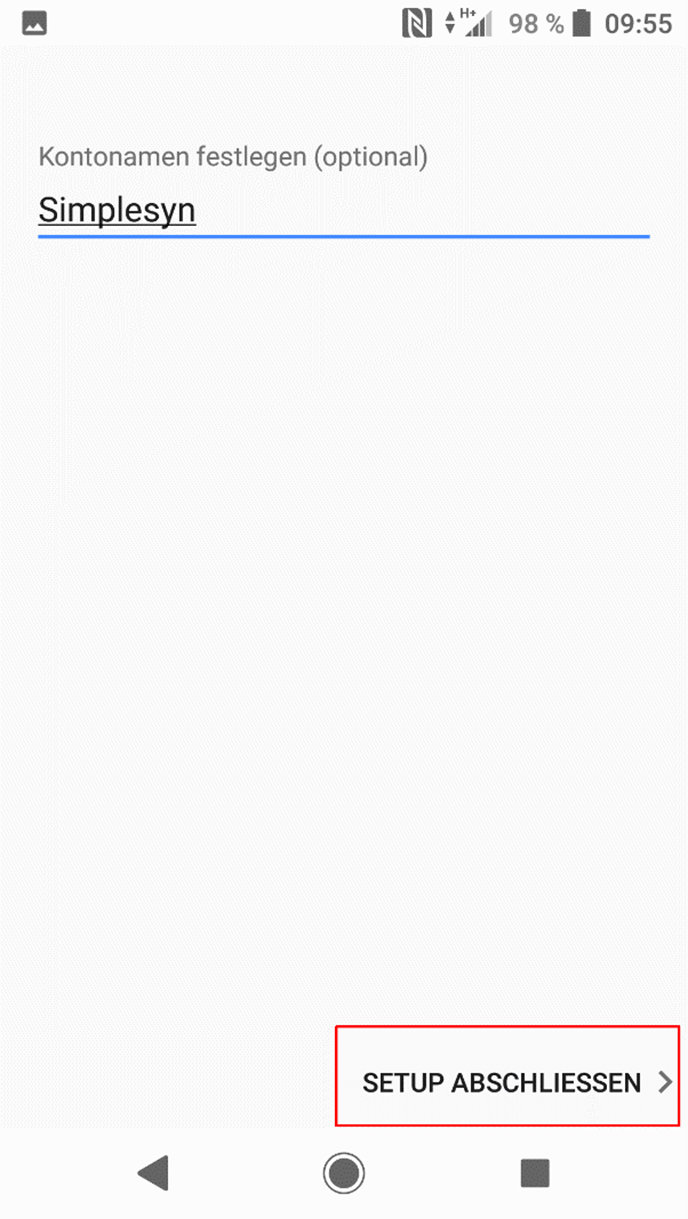
- In the last dialog you can assign a display name for the SimpleSYN Mobile account. This is used to differentiate if you want to set up multiple accounts on your Android device. Tap "Next" to complete the setup.
If you have a device with Android 10 or newer, you can use the Google Gmail app for emails and tasks, as well as the normal contacts and calendar apps with SimpleSYN Mobile.
Follow these steps to set up a device running Android 10 or newer.
- Open the settings of your Android device.
- Tap “Accounts”, then tap “Add Account”.
- Tap “Exchange”.
- The Gmail app will then open. Enter the previously noted pseudo email address (with the extension @simplesyn.app). and tap “Next”.
- In the next dialog, enter your previously created password. Then tap “Next”.
- The account information will then be retrieved, and your SimpleSYN Mobile account will be set up. Tap “Finish” to complete the setup.
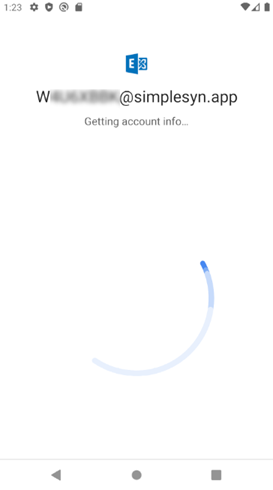
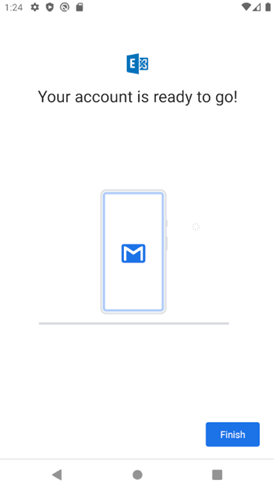
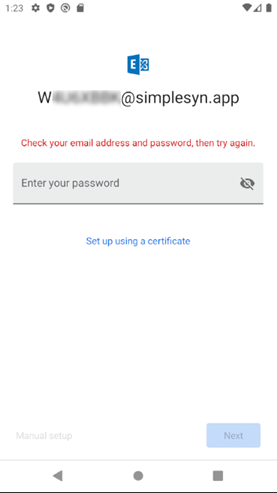 Figure 4: Incorrect entry of email address or password
Below you will find an example of setting up an account for the Sony Xperia email app.
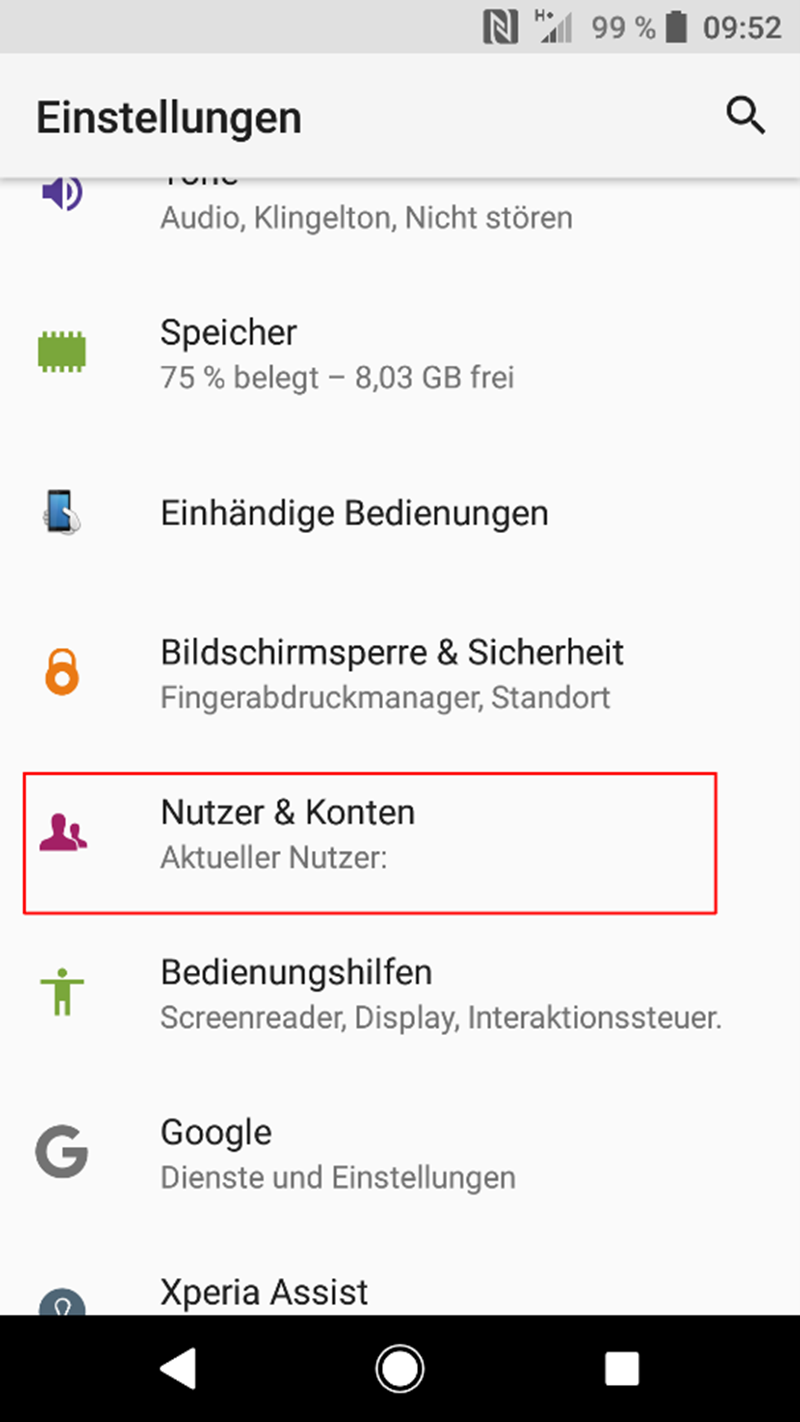
- Open the settings of your Android device.
- Tap “Users & Accounts”, or “Accounts”.
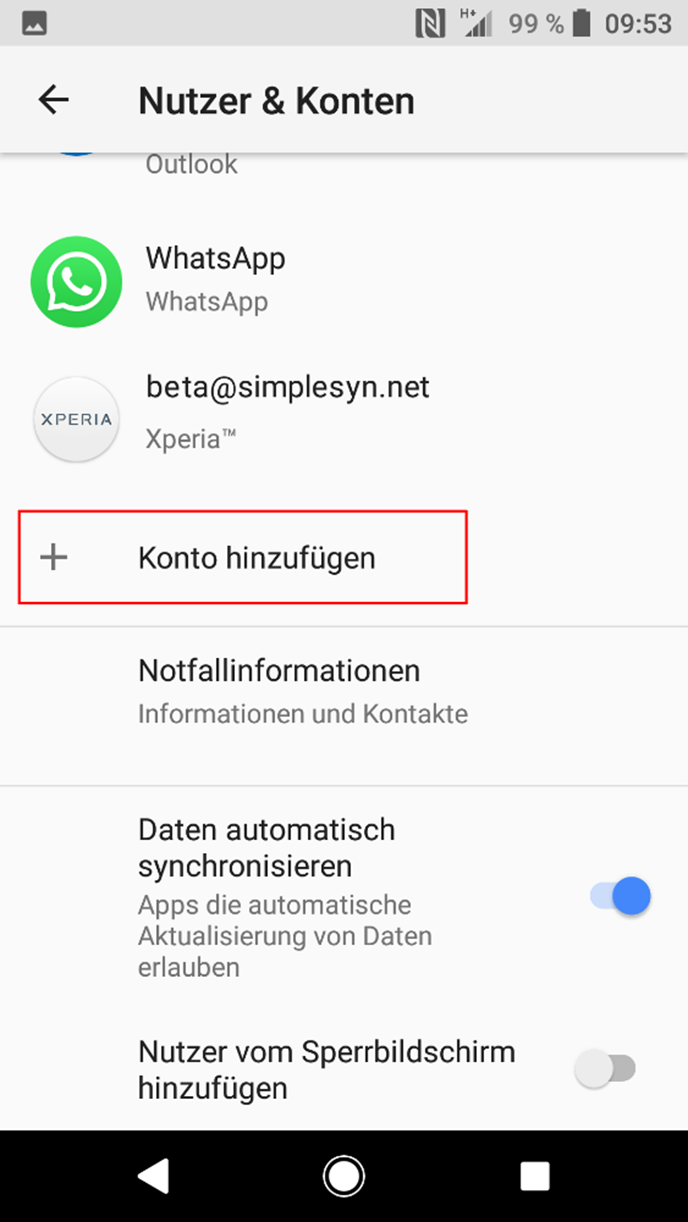
- Tap “Add Account”.
- Tap "Exchange ActiveSync".
In the following screen, enter the previously remembered email address and tap on "Next".
- Enter the noted password.
- The account is then set up.
- If necessary, you can make further settings. Follow the instructions.
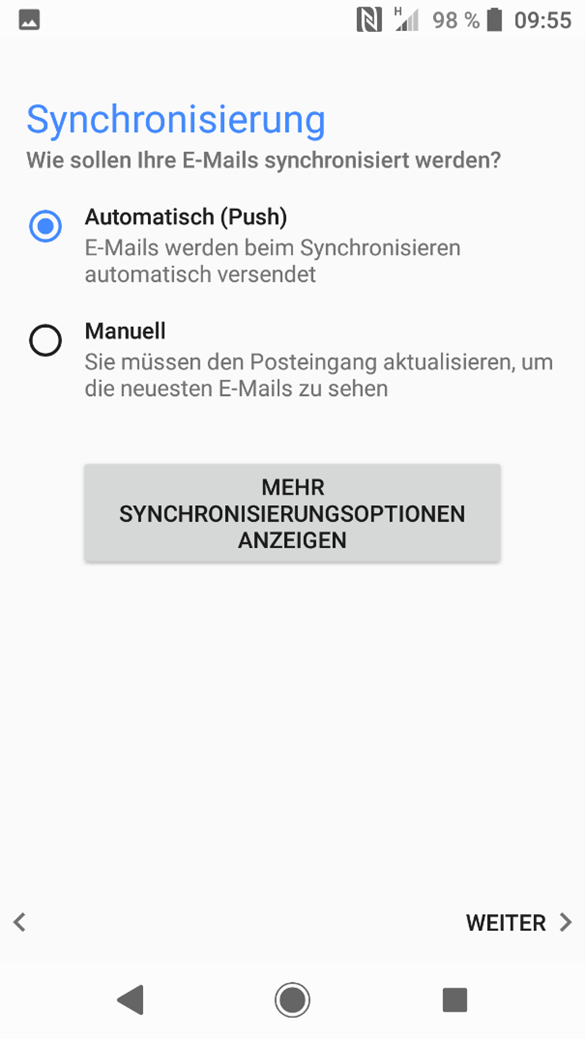
- Complete the setup by tapping “Complete setup”.
Set up for iPhone/iPad
With SimpleSYN Mobile you can sync your Apple iPad or iPhone. Emails, contacts, calendars, tasks and notes can be synchronized.
Below are some examples of how to set up SimpleSYN Mobile on iPad or iPhone. Individual names may differ slightly depending on the iOS version.
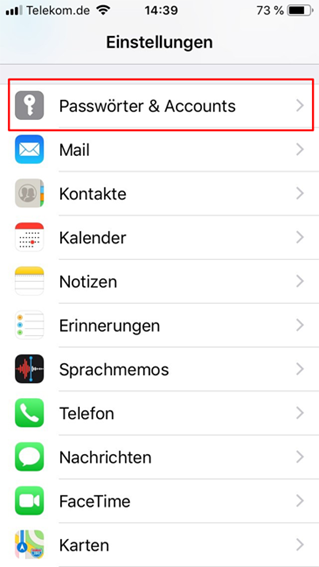
- Open the settings of your Apple iOS device.
- Tap “Passwords & Accounts”.
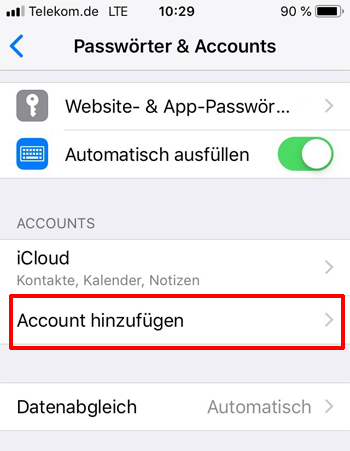
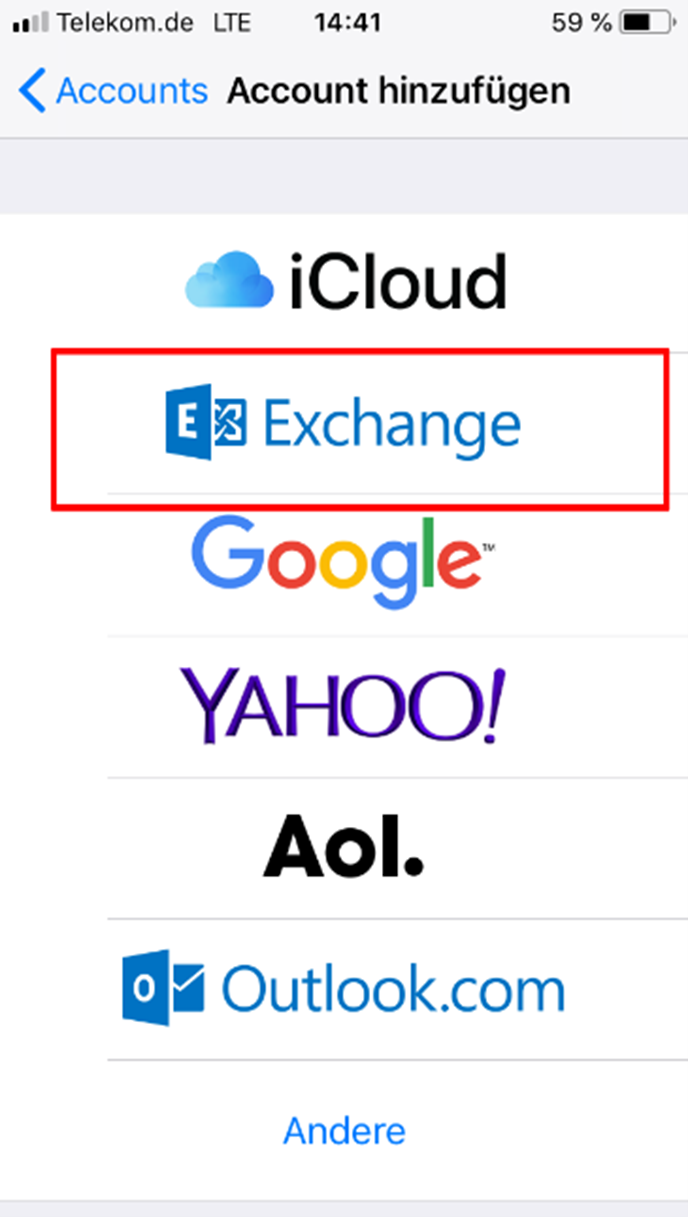
- Tap “Add account”.
- Tap “Exchange”.
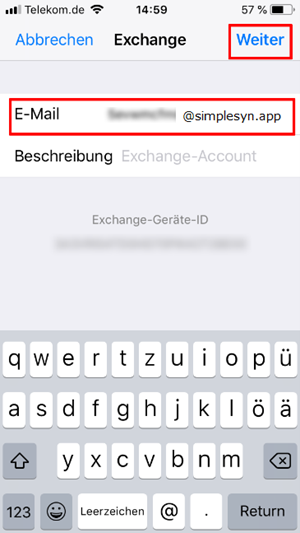
- Enter the email address that was automatically generated for the user. This email address ends in @simplesyn.app. Click “Next”.
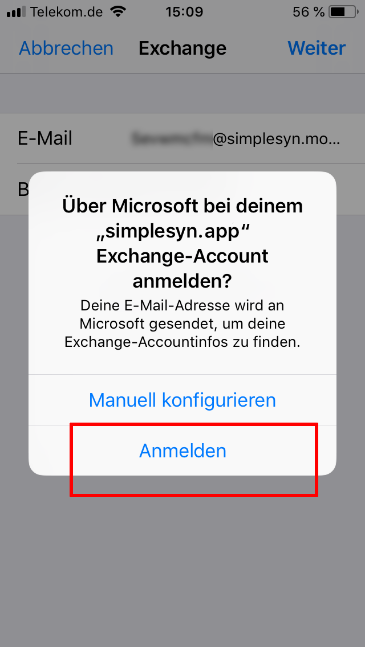
- Tap “Sign In”.
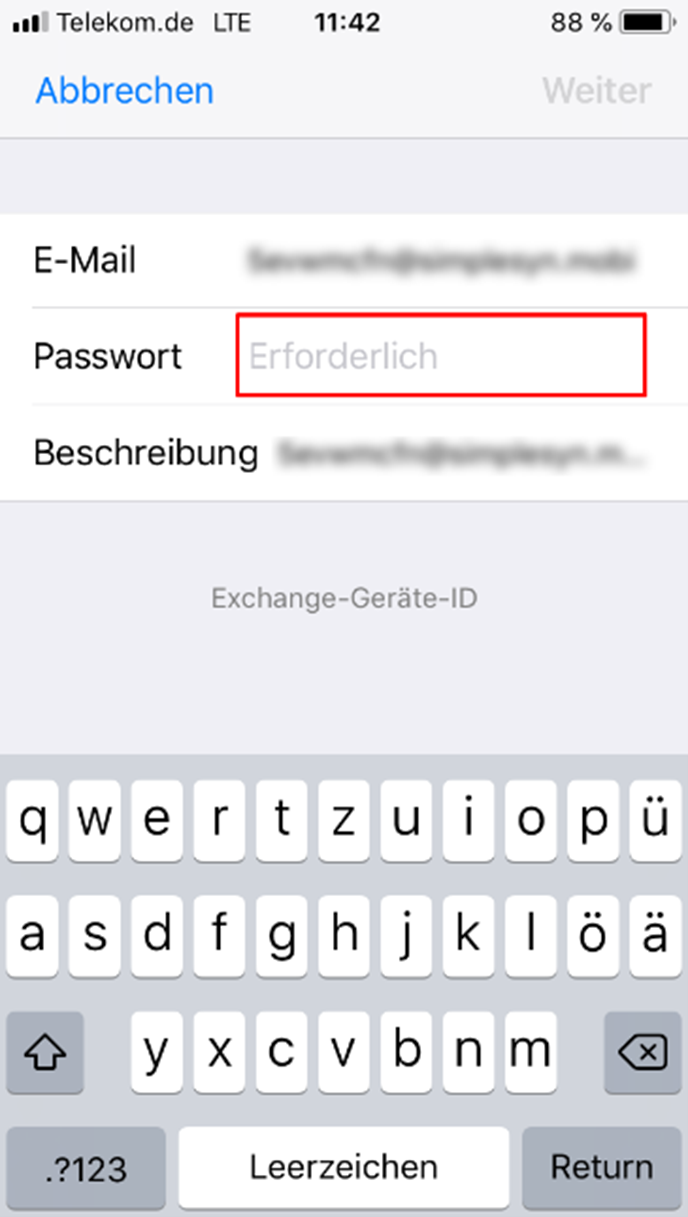
- Enter the password you have assigned to the user and the tap on “Next”.
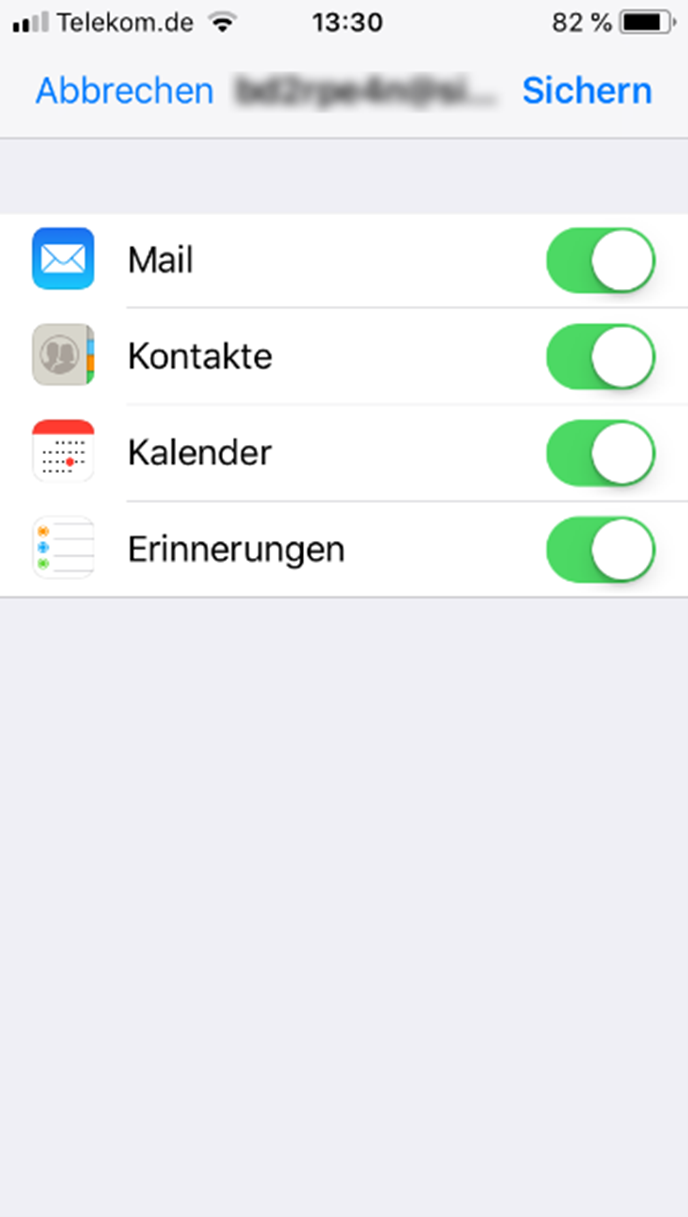
You have successfully set up SimpleSYN Mobile and can choose the items you want to sync. Tap “Save” to finish.
Below are the steps required to set up a device running iOS / iPadOS 14, 15, 16, or 17.
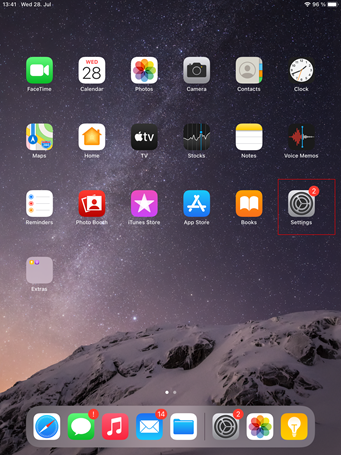
- Open the settings of your Apple device.
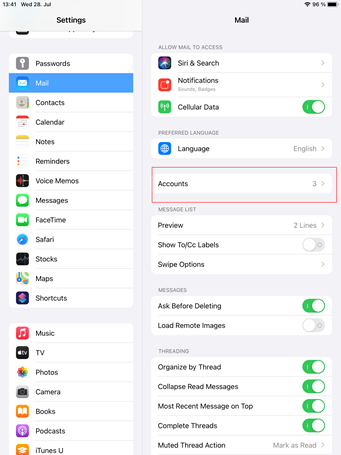
- Tap “Mail”, “Contacts”, “Calendar”, or “Notes” and then tap “Accounts”.
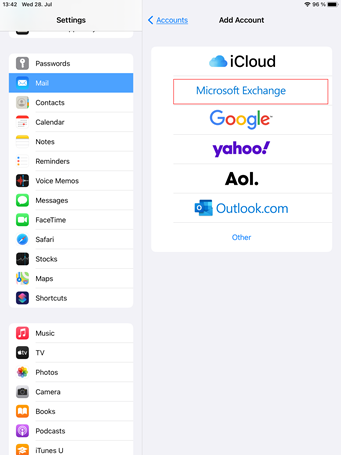
- Tap “Add Account”.

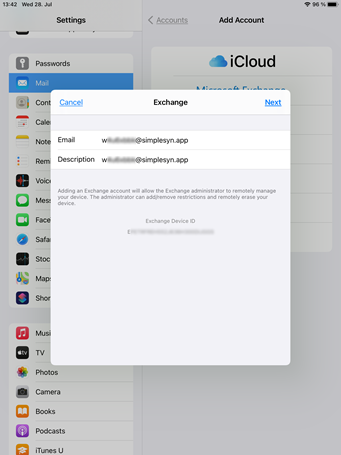
- Tap “Microsoft Exchange”.
- Enter the email address that was automatically generated for the user. This email address ends in @simplesyn.app. Tap "Next".
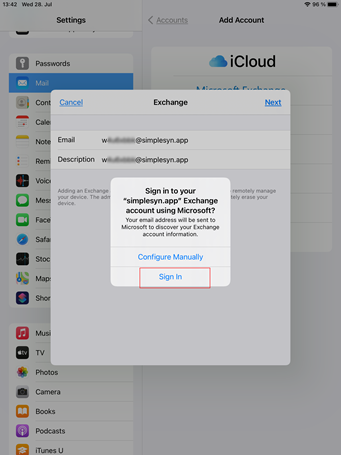
- Tap “Sign In”.
- Enter the password you have assigned to the user and then tap “Next”.
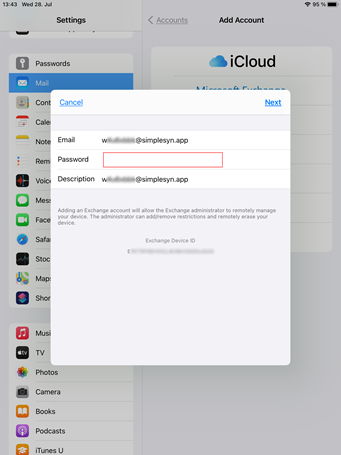
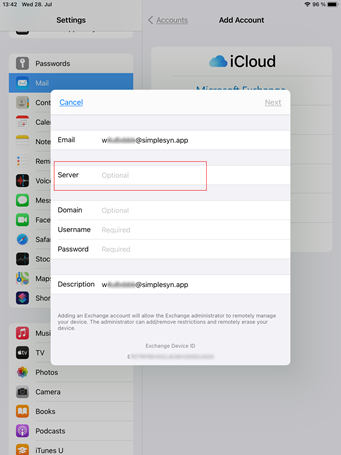
Figure 5: Example for incorrect configuration. No server was found. - You have successfully set up SimpleSYN Mobile and can choose the items you want to sync. Tap “Save” to finish.

Below are the steps required to set up a device running iOS / iPadOS 18 or 26. The steps differ only slightly from the previous versions.
- Open settings of your Apple iOS device
- Open Apps, Tap „Mail“, „Contacts“, „Calendar“ or „Notes“ and then tap “Accounts”.
- Tap “Add Account”.
- iOS 26: Tap the "Select a provider from the list" link below.
- Tap “Microsoft Exchange”.
- Enter the email address that was automatically generated for the user. This email address ends in @simplesyn.app. Tap "Next".
- Tap “Sign In”.
- Enter the password you have assigned to the user and then tap “Next”.
- You have successfully set up SimpleSYN Mobile and can choose the items you want to sync. Tap “Save” to finish.