Security
Applies to version: Version 7.x
SimpleSYN places great emphasis on the security of your Outlook® data. All communication is always highly encrypted – using modern hybrid encryption protocols such as SSL and TLS. Your personal Outlook® data is never stored in the cloud, but is transmitted directly and exclusively between the participating PCs.
Additionally, SimpleSYN offers secure authentication and authorization via username and password or alternatively via Windows login. This allows different permission levels to be easily implemented for different users.
With SimpleSYN, you can selectively share individual Outlook® folders for synchronization. The SimpleSYN server or client will therefore only have access to the folders you have explicitly shared. This allows you, for example, to conveniently exclude private Outlook® folders from synchronization.
Authentication and Authorization
SimpleSYN is configured in a way that only authorized users can synchronize. For this purpose, different login types are available, enabling various application scenarios. Authorization is based either on internal SimpleSYN users, local Windows® user accounts, or Windows® domain user accounts.
Default logon
In the default configuration SimpleSYN uses the logon type “Default”. In this case the special user account “All users” will be used. With this account all users will share the same settings. This configuration only uses a password for authentication.
SimpleSYN logon
SimpleSYN includes an integrated user management system. This allows login using individual usernames and passwords.
Windows logon
As an alternative to the internal user management, SimpleSYN clients can log in to the SimpleSYN server using the currently logged-in Windows® user or any Windows® user account. Both domain users and local user accounts are supported.
Configuration of security settings – SimpleSYN server
If SimpleSYN is configured as a SimpleSYN server, open SimpleSYN and click on “Synchronization Settings”. Click on “Manage Users” to open the SimpleSYN user management.
In the user management it is possible to create integrated SimpleSYN user accounts or to provide Windows® user accounts in SimpleSYN.
The overview displays all configured SimpleSYN users as well as the assigned Windows® user accounts. Under the section “Used by”, you can see which SimpleSYN client is currently using a specific user.
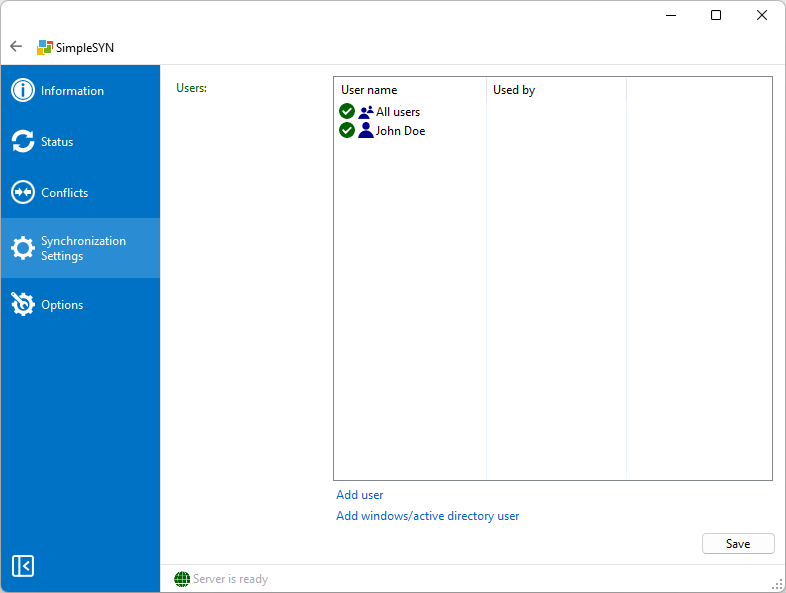 Image 1: SimpleSYN server user management
The user account “All users” allows anonymous access to the SimpleSYN server; only the password is required in this case. If only selected users are supposed to be able to log-on deactivate or delete the user account “All users”.
A symbol in front of the user shows whether the user is activated or deactivated. Is a user deactivated a log-on to the SimpleSYN-server is impossible for said user.
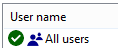 Image 2: User activated
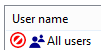 Image 3: User deactivated
Add user
Click on “Add user” to create a new SimpleSYN integrated user, or click on “Add Windows- / Active-Directory-user” to use an existing local Windows® user account or a domain user account as SimpleSYN log-on.
Add SimpleSYN-user
Enter a unique user name and password to create an integrated user account. Confirm the dialog with “OK”.
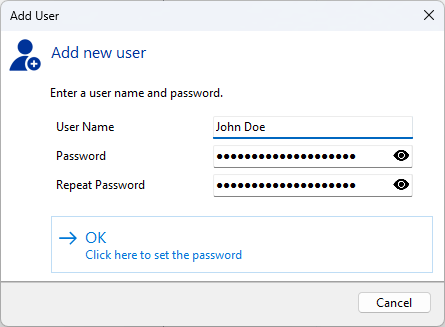 Image 4: Add user
Add Windows / Activce Directory users
To use a local Windows® user account or a domain user in SimpleSYN select the user account through the standard windows dialog.
 Image 5: Assign user account
Disable / enable users
To activate or deactivate a user account right click the according user account and select “Disable” or “Enable”.
Edit users and change passwords
To edit an integrated SimpleSYN user double click on the user or right click and select the menu item “Properties”. In the following dialog it is possible to change the user name or give a new password.
Image 6: Edit user
Should the selected user account be a local Windows® user account or a domain user account it is possible to select another user account.
Delete user
To completely delete a user right click the user and then on “Delete user”.
Configuration of security settings – SimpleSYN client
If SimpleSYN has been configured as a client, open the application and click on “Options” in the menu to modify the security settings.
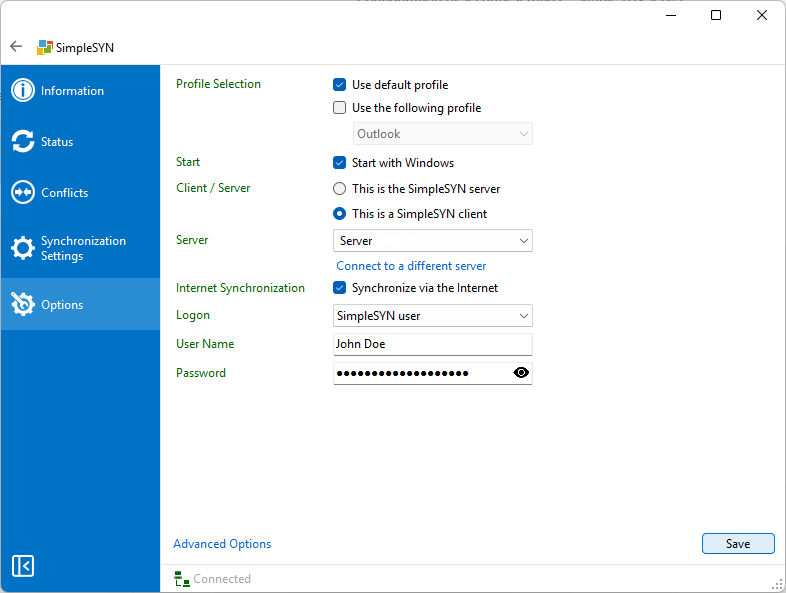 Image 7: Client security settings
Logon
In the “Login” dropdown menu, select the login type that corresponds to the user account on the SimpleSYN server side.
- Default
Select the login type “Default” to use the “All Users” account. In this setting, authentication is performed using a password. Enter the SimpleSYN server password under “Password”.

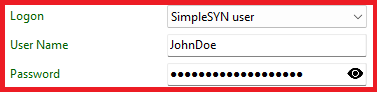
- SimpleSYN user
If an integrated SimpleSYN user has been created on the server side, select the login type “SimpleSYN User”. Enter the login credentials for the corresponding SimpleSYN user under “Username” and “Password”.
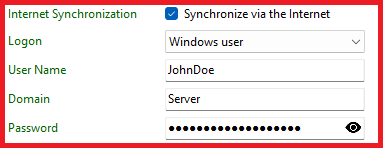
- Windows® User
If a local Windows® user account or a domain user account has been added on the server side and you want to use it for login, select the login type “Windows User”. Enter the login credentials for the Windows® user account under “Username”, “Domain”, and “Password”. If a local Windows® user account is being used the field “Domain” is equal to the computer name of the SimpleSYN-server computer.
- If “Logged-in Windows User” is selected, no further input is required. If the authentication type “Logged-in Windows User” is selected the current user accounts needs to be known to the SimpleSYN server. If it is a local Windows® user account, a user account with identical name and password has to exist on the SimpleSYN server computer.

Set available Outlook® folders
To confine the Outlook® folders for each synchronization partner, proceed as followed.
SimpleSYN has been configured as SimpleSYN server
If SimpleSYN has been configured as SimpleSYN server, click on “Synchronization settings” to open the folder selection.
Select the user whose settings are to be changed under “Current user”.
 Image 8: Select available folders
Available folders
From the list of Outlook® folders, choose the folders available for synchronization with the selected user. All Outlook® folders with an active checkbox will be available. All other folders will be invisible.
In the example shown, only the Outlook® folder “Calendar” was shared for the user “John Doe”. This means that this user can only select the “Calendar” folder for synchronization on the client.
Right click on the list of Outlook® folders, to open a context menu. Check the menu item “Allow new folders”, to allow the SimpleSYN clients to create new Outlook® folders below already allowed folders.
SimpleSYN has been configured as SimpleSYN client
If SimpleSYN has been configured as SimpleSYN client, click on “Synchronization settings” and afterwards on “Advanced client settings” to limit the visible Outlook® folders for the SimpleSYN-server.
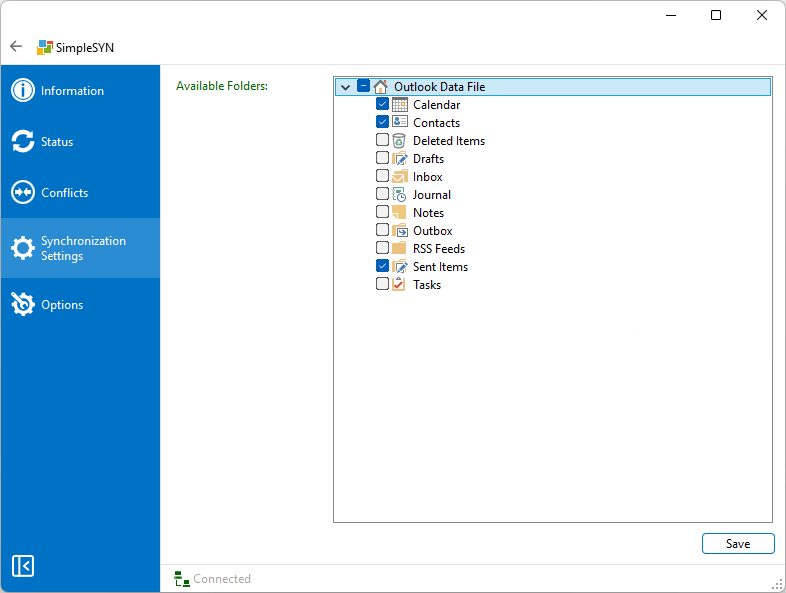 Image 9: Limit available folders
From the list of Outlook® folders, choose the folders available for synchronization with the SimpleSYN-server. All Outlook® folders with an active checkbox will be available. All other folders will be invisible.
Right click on the list of Outlook® folders, to open a context menu. Check the menu item “Allow new folders”, to allow the SimpleSYN server to create new Outlook® folders below already allowed folders.