Set-up
Applies to version: Version 4.x, Version 5.x
SimpleSYN will have to be set up once before SimpleSYN can be used for synchronization. SimpleSYN contains a configuration wizard which will guide you through the steps necessary to set-up SimpleSYN. Alternatively, manual configuration of SimpleSYN is possible. More information about the settings can be found here.
SimpleSYN will run either as SimpleSYN server or as SimpleSYN client. One installation set up as SimpleSYN server and at least a second installation set up as SimpleSYN client are needed for the synchronization to work.
 The SimpleSYN server is the central contact point and forwards the items to be synchronized to all SimpleSYN clients. Synchronization of e.g. a desktop computer with a notebook will require the desktop computer being setup as SimpleSYN server and the notebook as SimpleSYN client.
Configuration-wizard
The wizard will be started automatically the first time SimpleSYN is started or after an upgrade from an older version. The wizard enables easy set-up of SimpleSYN in a few steps.
The wizard should be run completely on all computers that are supposed to be synchronized for an easy set-up of SimpleSYN.
Start with the set-up of your SimpleSYN server. In this way the SimpleSYN clients will be able to find the SimpleSYN server automatically.
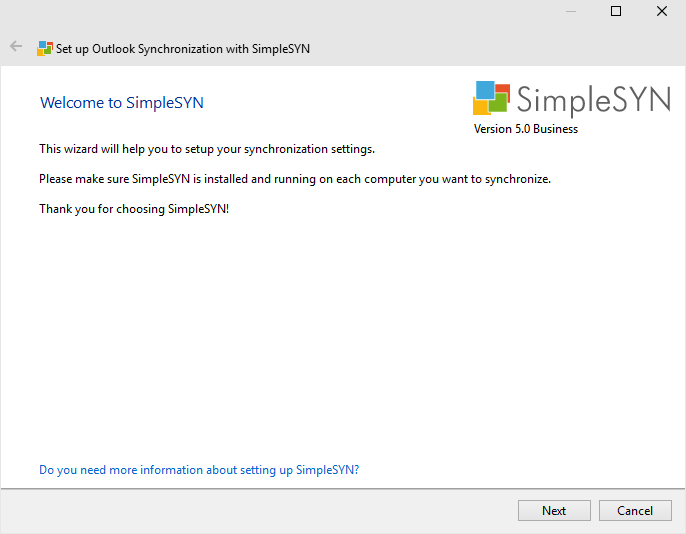 Image 1: Welcome page of the configuration-wizard
Click on “Next” to start the set-up of SimpleSYN.
Profile selection
The page “Profile selection” will only be shown if several Outlook®-profiles are available.
First, the Outlook®-profile to be synchronized by SimpleSYN has to be selected.
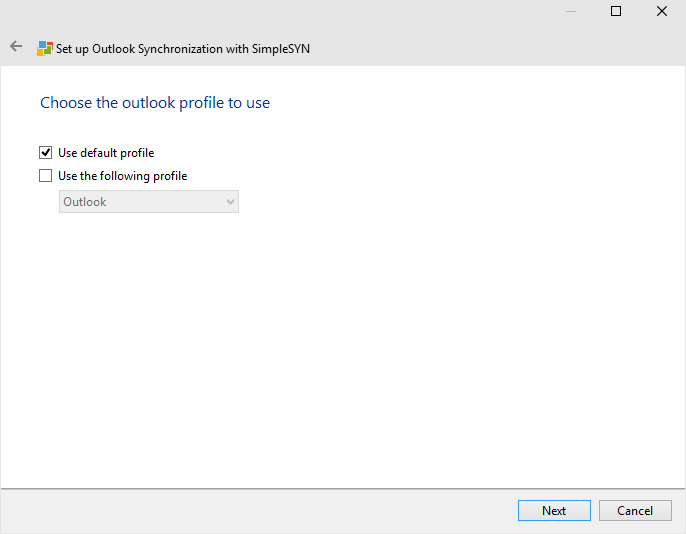 Image 2: select Outlook®-profile
SimpleSYN can be synchronized independently for every Outlook®-profile. The SimpleSYN settings apply to the currently active Outlook®-profile.
Following settings can be set for profile selection:
-
Use default profile: SimpleSYN uses the Outlook® default profile. In the case of no standard profile being available, a dialog will be shown for the selection of the profile.
-
Use following profile: SimpleSYN uses the selected profile in the drop-down list.
-
User selection: If neither “Use default profile” nor “Use following profile” is selected, the profile can be selected manually at each start of SimpleSYN. This is especially helpful if swapping between several profiles for synchronization is needed.
Click on “Next” to confirm profile selection.
Selection of SimpleSYN task
SimpleSYN can either be configured as SimpleSYN server or as SimpleSYN client. One Simple server can be synchronized with several SimpleSYN clients.
One computer has to be configured as SimpleSYN server. The SimpleSYN server is the central contact point and forwards the elements to be synchronized to all SimpleSYN clients.
The SimpleSYN server should be set up first. This eases the configuration of the SimpleSYN clients as they can automatically identify the SimpleSYN server in the default settings.
SimpleSYN will try to find any possibly existing SimpleSYN server computer automatically. Should no SimpleSYN server be found, the option “This is the SimpleSYN server” will be automatically preselected. Otherwise SimpleSYN will be preconfigured as SimpleSYN client of the first found SimpleSYN server.
Configuration of the SimpleSYN-server
To configure SimpleSYN as a server, follow these steps:
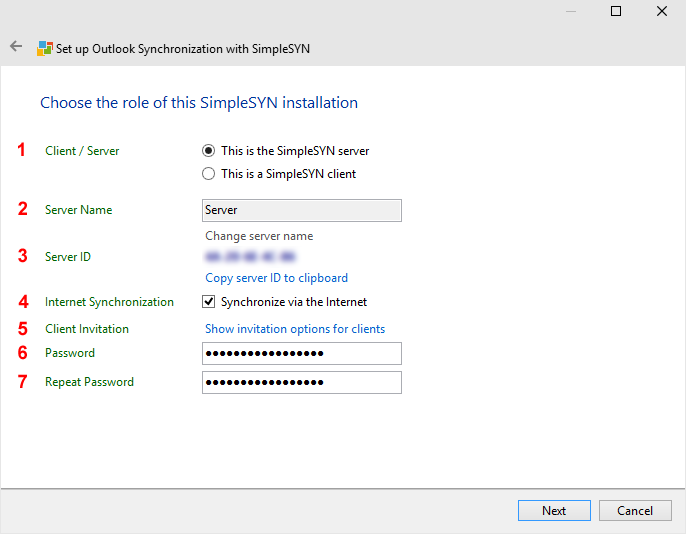 Image 3: Set-up of SimpleSYN-server
- Select the radio button “This is the SimpleSYN server” to configure the computer as SimpleSYN server.
- The “Server Name” shows the name given your SimpleSYN server
- Each SimpleSYN server gets a unique server ID. A SimpleSYN client can connect to the SimpleSYN server with this ID, if the SimpleSYN server cannot be found automatically.
- Select the checkbox “Synchronize via the Internet” if synchronization with this SimpleSYN server via the Internet is planned (Internet synchronization is only available in the SimpleSYN Business version).
With activation of Internet synchronization, the SimpleSYN server will be made accessible from the Internet. Choose a strong and secure password to prevent any unauthorized access to the SimpleSYN server. More information about the security of SimpleSYN can be found here. - Click on the link “Show invitation options for clients” to remove the server ID or create an invitation file for clients.
- Enter a Password to protect your SimpleSYN server.
- Repeat the Password to avoid a faulty insertion.
After a click on “Next”, the set-up of the SimpleSYN server will be completed.
When the configuration of the SimpleSYN server completed successfully, a summary of your settings will be shown. Note this information for connecting your SimpleSYN clients.
Close the wizard through a click on “Finish”.
Set-up of SimpleSYN-client(s)
SimpleSYN server set-up should be finished before setting up the SimpleSYN client(s).
After finishing the set-up of the SimpleSYN server, switch to the computer to be set up as SimpleSYN client. Repeat the following steps of setting up the SimpleSYN client on all client computers.
Should SimpleSYN not be able to find a SimpleSYN server in the configuration wizard, make sure the SimpleSYN server is running and successfully set-up. If the setup of the SimpleSYN server was successful, it will be found automatically by the configuration wizard of the client computer and the SimpleSYN client settings will be preselected.
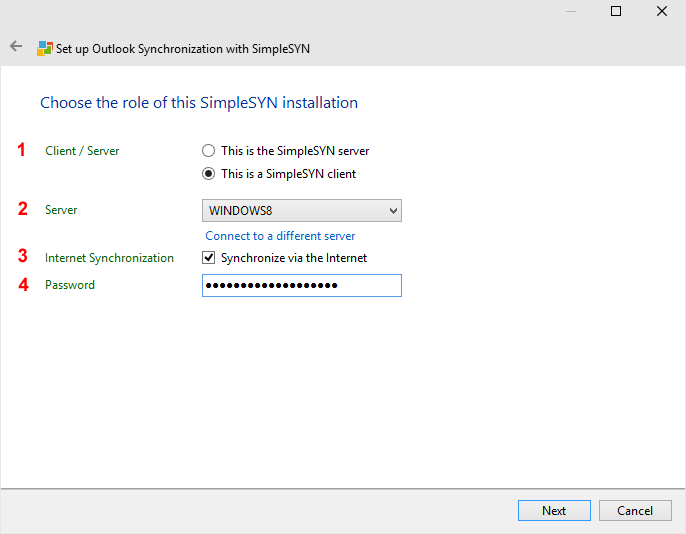 Image 4: configure SimpleSYN-client
- Select the radio button “This is a SimpleSYN client” to configure the computer as a SimpleSYN client
- Select the SimpleSYN server to synchronize with.
The drop-down list lists all SimpleSYN servers available in the local network. If the SimpleSYN server is available via the local network, it can be selected in the drop-down list. To update the list of available SimpleSYN servers, put the input focus on the drop-down list and hit the key „F5“.
If your SimpleSYN server is not available in the drop-down list, you will need either an invitation file or a unique ID to connect to the SimpleSYN server. Click on “Connect to a different server”.
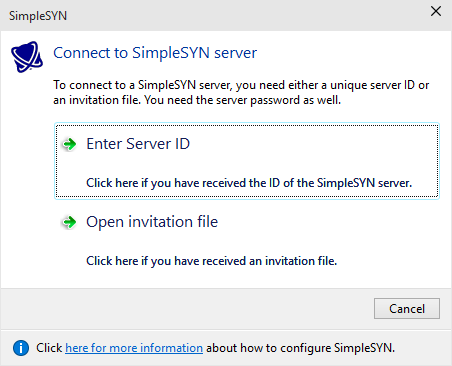
Image 5: Conntect to SimpleSYN server
If you have received a server ID, click on “Enter Server ID” and type in the ID. Afterwards the server information will be retrieved and added to the drop-down list. If you got an invitation file, click on “Open invitation file”. The SimpleSYN server will be added to the drop-down list. - Select the checkbox “Synchronize via the Internet” if a connection to a SimpleSYN server via the Internet exists or will be used for synchronization in the future (Internet synchronization is only available in the SimpleSYN Business version).
- Fill in the field “Password” with the password of the SimpleSYN server chosen during the configuration of the SimpleSYN server
Click “Next” to proceed with the set-up of your SimpleSYN-client. SimpleSYN then tries to establish a connection with the SimpleSYN-server.
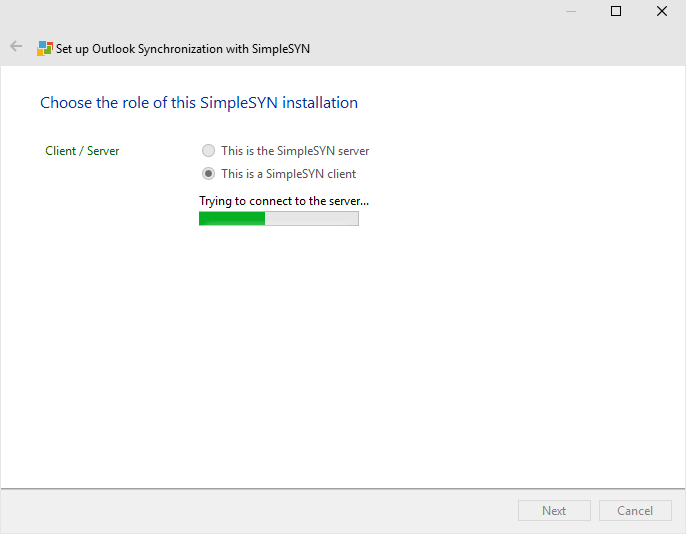 Image 6: Connection to the server being tested
If SimpleSYN is unable to establish a connection to the SimpleSYN server, check your connection settings. In case that the SimpleSYN server is not started it is possible to continue without an established connection.
Select folders
Once a connection to the SimpleSYN server is successfully established, selection of the Outlook® folders for automatic synchronization will be possible in the following window.
Select the checkbox in front of the corresponding folders to define the direction of the synchronization. An arrow in both directions means that the folder will be synchronized by both server and client. A second click changes the direction of synchronization. An arrow pointing right means synchronization of the folder from the client towards the server only; an arrow pointing left means synchronization of the folder from the server to the client only.
Detailed information about the synchronization settings can be found in the section synchronization settings.
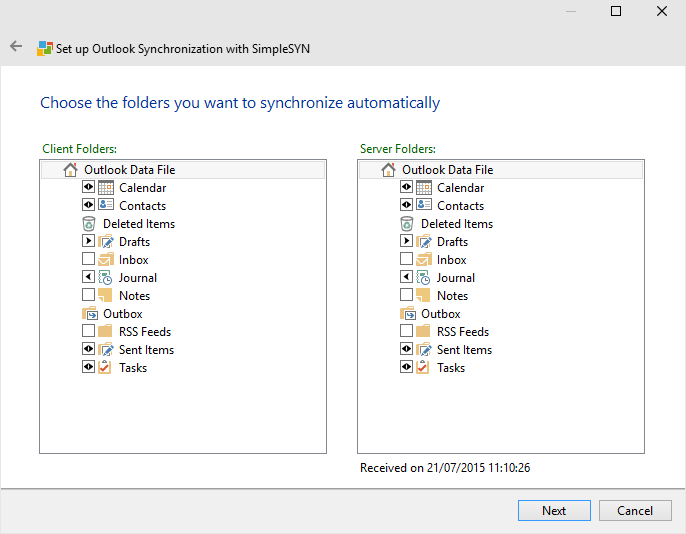 Image 7: select folder
A click on “Next” will finish the set-up of the SimpleSYN client. Close the configuration wizard with a click on “Finish”.
SimpleSYN is now ready for synchronization.
Rerun the configuration wizard
After having been run the configuration wizard will not be displayed again at the start of SimpleSYN. To access the configuration wizard again, activate “Run configuration wizard at next start” in the menu and restart SimpleSYN.
For this purpose open SimpleSYN and hit the key “Alt” to open the main menu. Select the menu “Help” and activate the entry “Run configuration wizard at next start”. Close SimpleSYN and restart SimpleSYN.
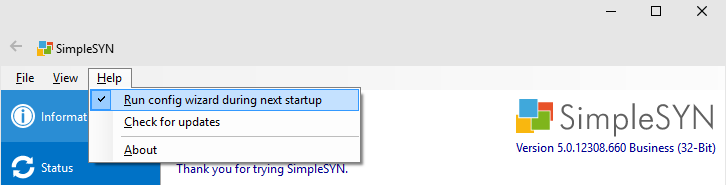 Image 8: rerun the configuration wizard
Information about starting and closing SimpleSYN can be found here.