Set-up
Applies to version: Version 7.x
Before SimpleSYN can be used for synchronization, it must be set up once. A setup wizard is available to guide you step by step through all necessary settings. Alternatively, you can configure SimpleSYN manually – further information about the available options can be found here.
SimpleSYN operates in two roles: as a server or as a client. For synchronization, you need at least two installations – one as a SimpleSYN server and another as a SimpleSYN client.
Configuration-wizard
When SimpleSYN is launched for the first time, or after an upgrade to a new version, the configuration wizard is started automatically. This wizard allows SimpleSYN to be set up in just a few steps.
 Image 1: Welcome page of the configuration-wizard
Click on “Next” to start the set-up of SimpleSYN.
Profile selection
The page “Profile selection” will only be shown if several Outlook®-profiles are available. First, the Outlook®-profile to be synchronized by SimpleSYN has to be selected.
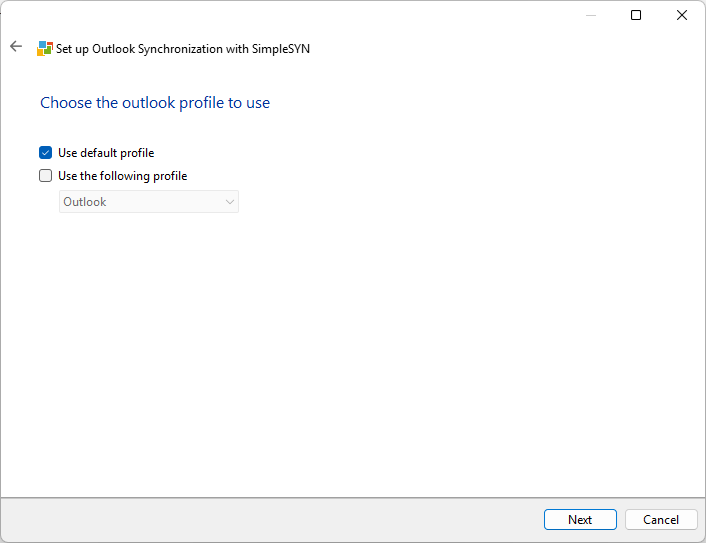 Image 2: select Outlook®-profile
You have the following options to choose your desired profile:
- Use default profile: SimpleSYN automatically uses the default Outlook® profile. If no default profile is available, a dialog will appear for manual selection.
- Use the following profile: The profile selected from the dropdown list will be used.
- Select profile at each startup: If neither of the previous options is selected, you can manually choose the desired profile each time SimpleSYN starts. This setting is especially useful if you regularly switch between multiple profiles to synchronize them one after the other
Click on “Next” to confirm profile selection.
Selection of SimpleSYN role
SimpleSYN can either be configured as SimpleSYN server or as SimpleSYN client. One Simple server can be synchronized with several SimpleSYN clients.
In the first step, you should set up the SimpleSYN server. This simplifies the configuration of the SimpleSYN clients, as they can automatically detect the SimpleSYN server using the default settings.
SimpleSYN attempts to automatically find any existing SimpleSYN server computers. If no SimpleSYN server is found, the option “SimpleSYN Server” is selected automatically. Otherwise, SimpleSYN is preconfigured as a SimpleSYN client and connected to the first detected SimpleSYN server.
Configuration of the SimpleSYN-server
To configure SimpleSYN as a server, follow these steps:
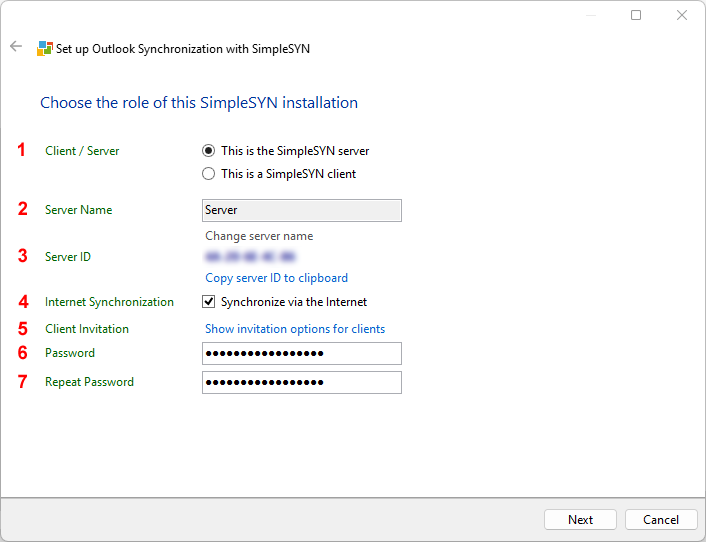 Image 3: Set-up of SimpleSYN-server
-
Client / Server
Select the option “This is the SimpleSYN server” to configure this computer as a server. -
Server Name
The displayed server name identifies your SimpleSYN server on the network. -
Server ID
Each server also receives a unique server ID, which allows clients to connect to the server. -
Internet Synchronization only SimpleSYN Business
If you want to synchronize your data not only within the local network (LAN/WLAN) but also via the Internet, check the box “Synchronize via the Internet”.
Once activated, your server will be accessible via the Internet.
Assign a secure password (see step 6) to prevent unauthorized access.
You can find more information about SimpleSYN security here. -
Client Invitation
Click “Show options for inviting clients” to revoke server publishing or to create an invitation file.> - Password
Enter a secure password for your SimpleSYN server. -
Repeat password
Repeat the password to avoid input errors.
Click “Next” to complete the server configuration.
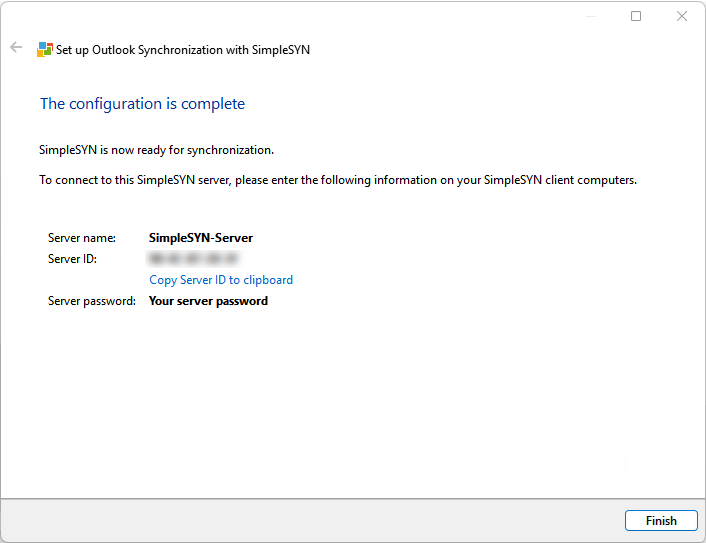 Image 4: SimpleSYN server setup completed
After successfully setting up the SimpleSYN server, a summary of your configuration will be displayed.
This information is important for connecting the SimpleSYN clients to the server.
Close the configuration wizard by clicking “Finish”.
Set-up of SimpleSYN-client(s)
After finishing the set-up of the SimpleSYN server, switch to the computer to be set up as SimpleSYN client. Repeat the following steps of setting up the SimpleSYN client on all client computers.
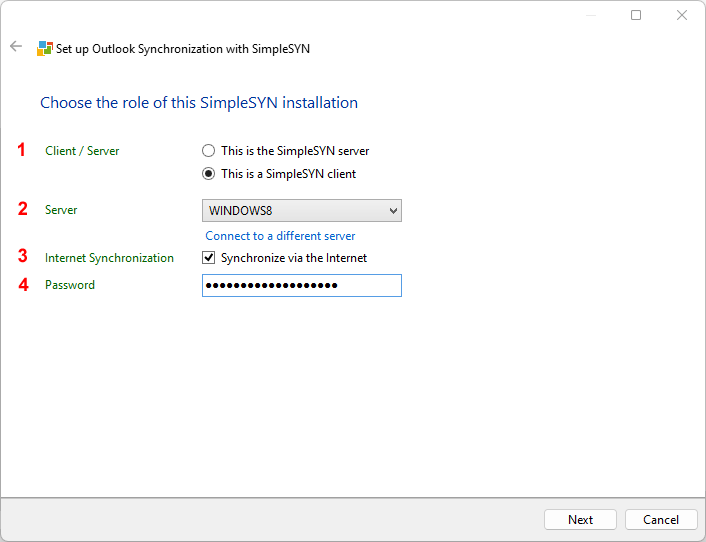 Image 5: configure SimpleSYN-client
-
Client / Server
Select the option “This is a SimpleSYN client” to configure the computer as a SimpleSYN client -
Server
Select the SimpleSYN server to synchronize with.In the “Server” dropdown menu, all available SimpleSYN servers in the local network are displayed. Additionally, servers that have been found via a server ID or an invitation file will also appear here. Select the server that the SimpleSYN client should synchronize with.
If your SimpleSYN server is not available in the same local network, the connection must be established using a server ID or an invitation file.
To do this, click “Connect to a different server.”
- Connecting via Server ID
- If you have received a Server ID from the SimpleSYN server, click “Enter Server ID” and enter the ID into the corresponding field. The server information will then be retrieved automatically and displayed in the “Server” dropdown list.
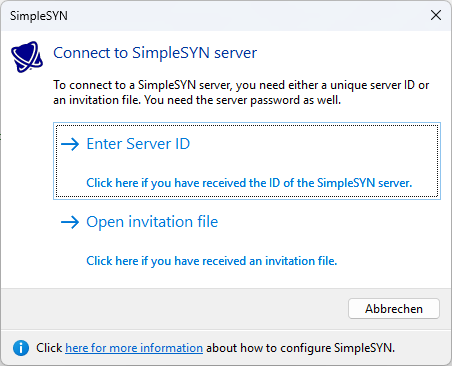
Image 6: Connect to a SimpleSYN-server
- If you have received a Server ID from the SimpleSYN server, click “Enter Server ID” and enter the ID into the corresponding field. The server information will then be retrieved automatically and displayed in the “Server” dropdown list.
- Connecting via Invitation File
- If you have received an invitation file, click “Open invitation file” to load it. The SimpleSYN server data will then be automatically added to the “Server name” dropdown list.
- If you have received an invitation file, click “Open invitation file” to load it. The SimpleSYN server data will then be automatically added to the “Server name” dropdown list.
- Connecting via Server ID
- Internet Synchronization only SimpleSYN Business
If you want to synchronize your data not only within the local network (LAN/Wi-Fi) but also over the Internet, activate the checkbox “Synchronize via the Internet.” This allows SimpleSYN clients to connect to the server even when they are outside your local network. - Password
Enter the password of your SimpleSYN server under “Password”, which you defined during the setup of the SimpleSYN server.
Click “Next” to proceed with the set-up of your SimpleSYN-client. SimpleSYN then tries to establish a connection with the SimpleSYN-server.
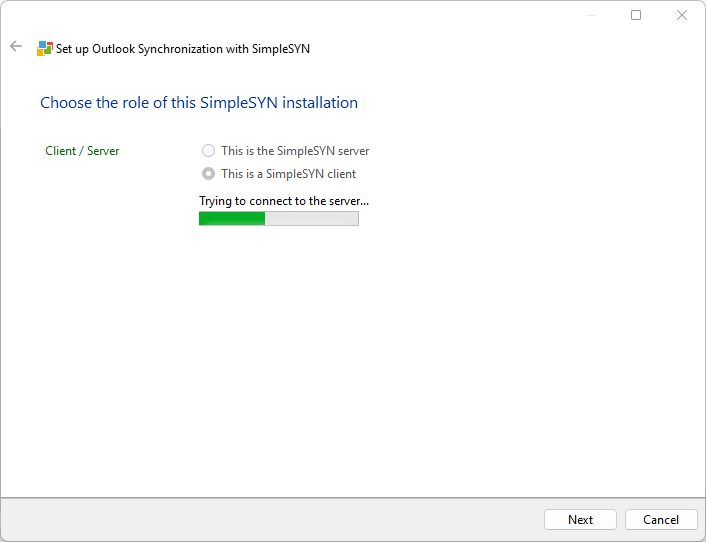 Image 7: Connection to the server being tested
If SimpleSYN is unable to connect to your SimpleSYN server, check your settings. If your SimpleSYN server is not running, you can still proceed without having established a connection.
Select folders
As soon as the connection to the SimpleSYN server has been successfully established, a window will appear for selecting the Outlook® folders to be synchronized. Check the boxes in front of the desired folders to include them in the synchronization.
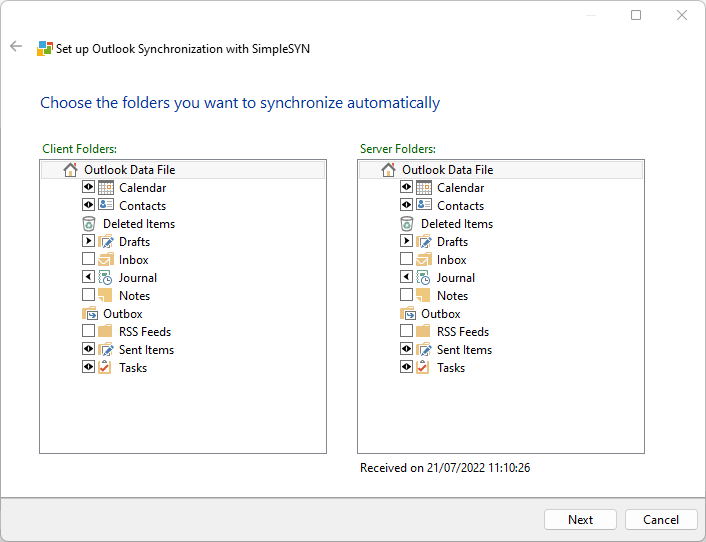 Image 8: select folder
The arrows within the checkbox indicate the current synchronization direction:
- A single arrow from client to server means data is transferred from the client to the server
- An arrow from server to client indicates the opposite directio
- Double arrows represent bidirectional synchronization.
You can set the desired synchronization direction by clicking the checkbox multiple times.
A click on “Next” will finish the set-up of the SimpleSYN client. Close the configuration wizard with a click on “Finish”.
SimpleSYN is now ready for synchronization.
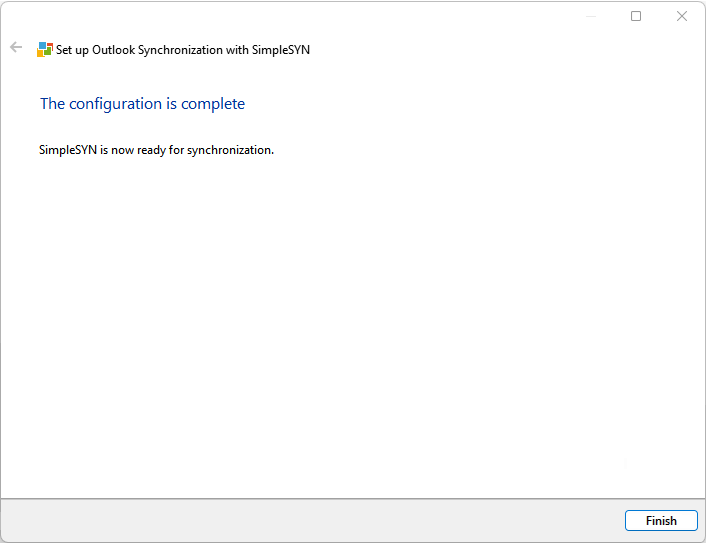 Image 9: The setup of SimpleSYN is complete
Rerun the configuration wizard
If the configuration wizard has already been completed once, it will not automatically be displayed again the next time SimpleSYN is started. To launch it again, please proceed as follows:
-
Open SimpleSYN
Start SimpleSYN as usual. -
Open the main menu
Briefly press the Alt key once to make the main menu visible. -
Activate the wizard
Navigate to “Help” and select the menu item “Run config wizard during next startup”. -
Restart SimpleSYN
Close SimpleSYN and then start it again. The configuration wizard will now be displayed again.
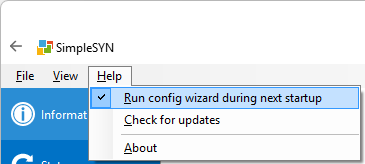 Image 10: rerun the configuration wizard